In the world of modern gaming, engaging players goes beyond just providing an exciting storyline or fun mechanics. One of the most effective ways to increase player engagement and retention is by adding gamified elements to your game’s user interface (UI). Leaderboards, achievements, and rewards are key components of a gamified experience that can keep players motivated and invested in your game.
In this article, we will explore how you can design and implement gamified UI elements—specifically leaderboards, achievements, and rewards—using Armature, a powerful UI design tool. By the end of this guide, you will have a clear understanding of how to integrate these features into your game and enhance the overall player experience.
Why Gamified UI Matters
Gamification in UI design is all about turning everyday interactions into a more engaging experience by incorporating game-like features. It taps into the psychology of rewards and progression, which can encourage players to spend more time in your game. Here’s why these elements are essential:
- Motivation: Leaderboards and achievements give players something to strive for, pushing them to improve their skills and compete with others.
- Progression: Gamified features allow players to feel a sense of progress and accomplishment, which is crucial for maintaining long-term engagement.
- Competition: Leaderboards create a competitive environment that encourages players to return to the game and continue improving.
Now that we know why gamified UI elements are essential, let’s dive into how to design them using Armature.
Designing Leaderboards in Armature
Leaderboards are an iconic part of many games, particularly multiplayer and competitive ones. They create a sense of competition by displaying the top players and their achievements. Armature makes it easy to design and implement a leaderboard that fits seamlessly into your game’s UI. The future of gaming user interfaces, read more in our article.
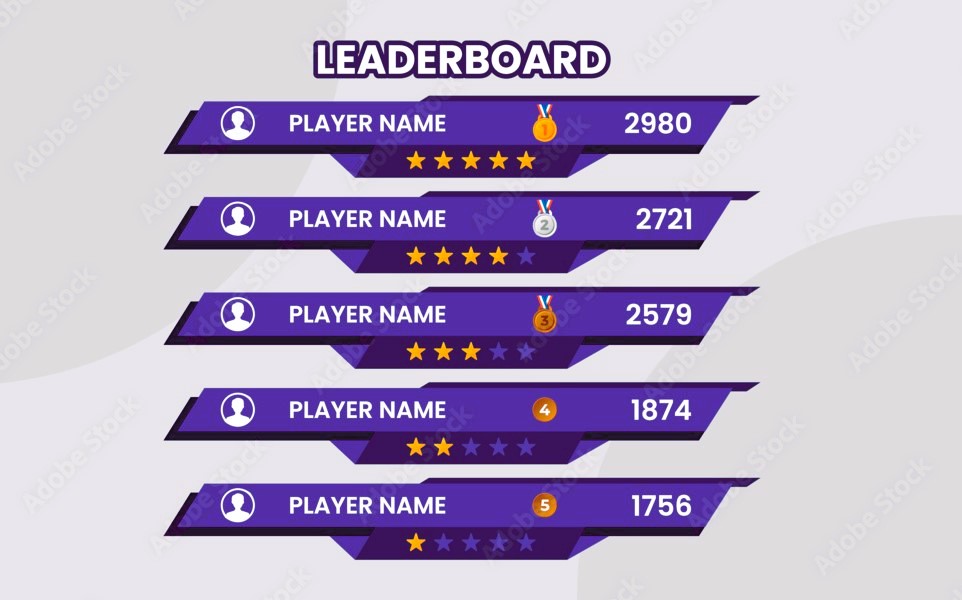
Step 1: Conceptualizing the Leaderboard
Before jumping into design, it’s important to plan out what your leaderboard will display. Here are a few common features:
- Player Names: Display the names of the top players.
- Scores/Points: Show the scores or points that the players have earned.
- Ranks: Display the player’s rank to create a competitive environment.
- Filters: Allow players to filter the leaderboard by categories such as “Daily,” “Weekly,” “Global,” or “Friends.”
Step 2: Designing the UI in Armature
Once you have your concept, Armature’s drag-and-drop interface makes it easy to create your leaderboard.
- Grid Layout: Use a grid layout to structure the leaderboard. Each row can represent a player’s position, with columns for their name, score, and rank.
- Typography: Use bold typography for player names and scores to make them stand out. Armature allows you to easily adjust font sizes and styles to create a clear hierarchy of information.
- Dynamic Scrolling: Implement dynamic scrolling if you have a large number of players. This ensures that players can scroll through the leaderboard easily.
- Animations: Add smooth transitions or animations for when players’ rankings change or when new players join the leaderboard. Armature allows you to add animations to elements, which can make the leaderboard feel more interactive.
Step 3: Implementing the Leaderboard in Your Game
Once you’ve created your leaderboard in Armature, you can easily export the elements into your game engine, such as Unity or Unreal Engine, and integrate them with the backend systems that track player scores.
Designing Achievements in Armature
Achievements are another important element of gamified UI that give players a sense of accomplishment. Achievements can range from simple milestones, like completing a level, to more complex challenges, such as finishing the game without losing a life.
Step 1: Defining Achievements
Start by defining the types of achievements you want to offer. Here are a few examples:
- Milestone Achievements: For completing specific levels or missions.
- Skill-Based Achievements: For executing a difficult combo or performing an advanced skill.
- Exploration Achievements: For discovering hidden areas or collectibles within the game.
Step 2: Designing Achievement Icons
In Armature, you can design unique icons for each achievement. The design of these icons is crucial because they represent a player’s success. Use simple yet distinctive designs that players will easily recognize. Here are some tips:
- Simplicity: Avoid clutter in your icons. A simple design with bold colors is more recognizable.
- Consistency: Ensure all achievement icons follow a consistent design theme that fits within your game’s art style.
- Visual Feedback: Provide visual feedback when players unlock achievements, such as a pop-up notification or an animated icon.
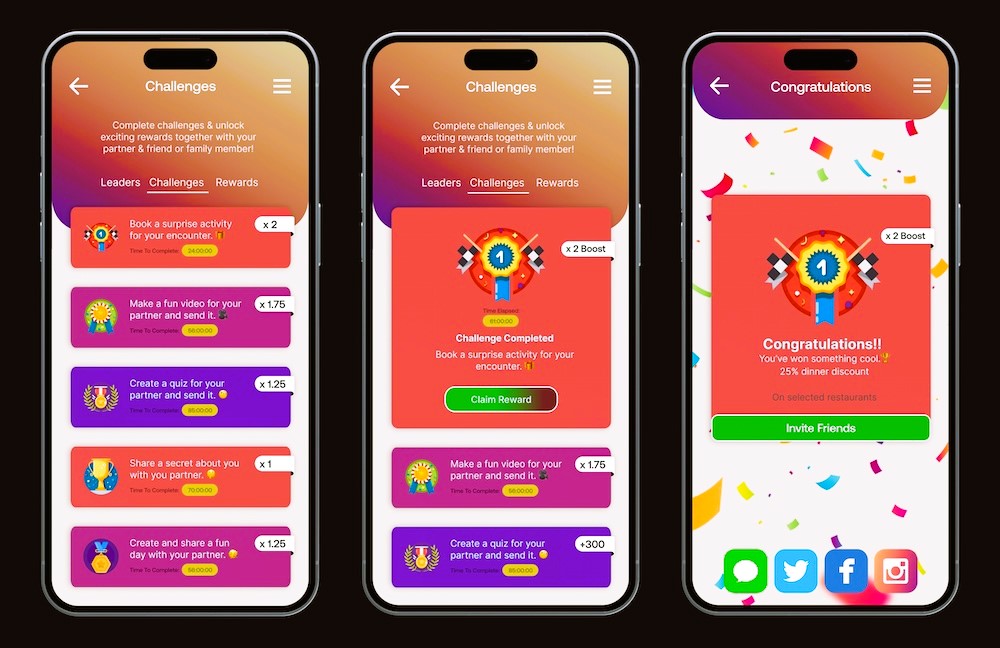
Step 3: Displaying Achievements
In Armature, you can design an achievement menu or screen that displays all the achievements players can unlock. Include:
- Progress Bars: To show players how close they are to unlocking an achievement.
- Icons: Display the achievement icons, with greyed-out icons for those not yet unlocked.
- Descriptions: Provide short descriptions of each achievement so players know what they need to do to unlock them.
Export the design to Unity or Unreal Engine for easy integration into your game.
Incorporating gamified UI elements like leaderboards, achievements, and rewards into your game is an effective way to keep players engaged and motivated. Armature provides a user-friendly and powerful platform for designing these elements, allowing you to quickly create, test, and implement them into your game.
By using Armature to design these features, you can create a more dynamic and enjoyable experience for players, encouraging them to return to your game time and time again. Whether you’re designing a competitive leaderboard, rewarding achievements, or offering enticing rewards, Armature’s versatility will help you craft an engaging and motivating UI that keeps players hooked.
For more information on user interface design in games, visit Wikipedia’s page on User Interface Design.