Designing user interfaces (UIs) for games requires the right tools, especially when developing cross-platform games. One such tool is Armature, a powerful extension for Adobe Illustrator that helps designers create intricate and functional UI elements for both web and mobile platforms. But what happens when your designs are ready for implementation? Exporting these designs to game engines like Unity and Unreal Engine is a crucial step for turning your concepts into reality.
In this article, we will walk you through the process of exporting Armature designs to Unity and Unreal Engine, ensuring that your user interface elements are seamlessly integrated into your game project.
Why Export Designs to Unity or Unreal Engine?
Both Unity and Unreal Engine are leading game engines used to create immersive 3D and 2D games. When creating games with complex user interfaces (UI), it’s essential to have a streamlined way to import your designs into these engines. Armature simplifies this process by allowing you to create UI components directly in Adobe Illustrator, which can then be exported and used within Unity or Unreal Engine.
The benefits of exporting Armature designs include:
- Efficiency: Armature allows for faster UI creation, and exporting to a game engine saves you time on manual implementation.
- Consistency: By using Armature, you ensure that the visual elements in your game remain consistent with your original designs.
- Flexibility: Both Unity and Unreal Engine offer robust tools for further refining and programming your UI elements after the export.
Let’s break down the steps for exporting your Armature designs to both Unity and Unreal Engine.
1. Preparing Your Armature Designs for Export
Before you can export any design, you need to ensure that your Armature project is properly prepared. Here are the steps to follow:
Organize Your Layers
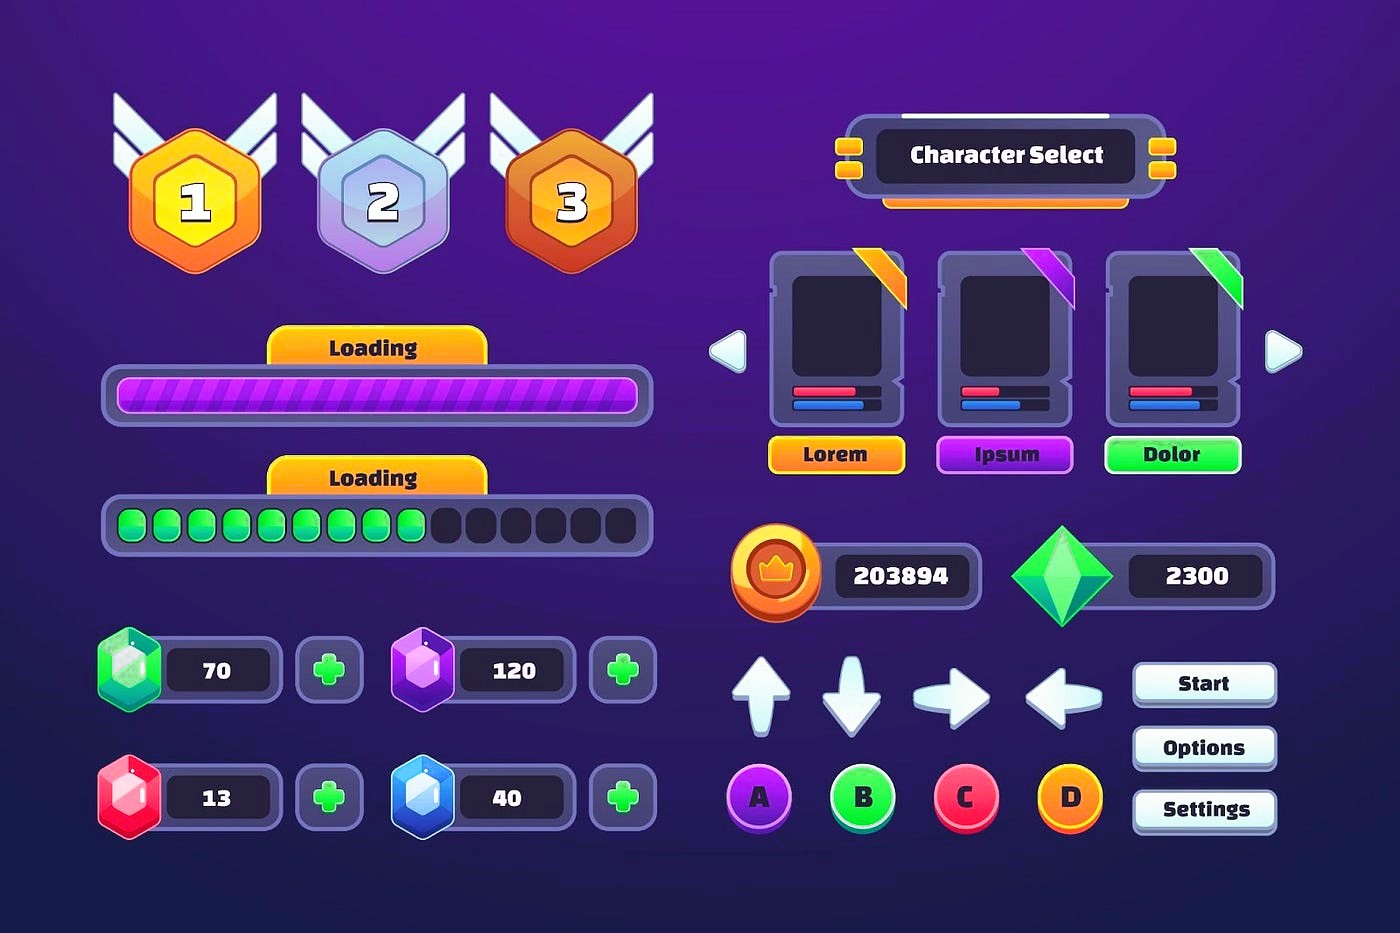
Armature works by creating UI elements as separate layers in Adobe Illustrator. Each layer represents a different UI component, such as buttons, backgrounds, sliders, etc. For a smooth export process:
- Label Your Layers: Label each layer in a way that clearly identifies its function, such as “Button_Normal”, “Button_Hover”, or “Health_Bar”.
- Group Similar Elements: Group related items like icons or text that belong together (e.g., a button’s background and its text) to avoid any confusion during export.
- Avoid Complex Effects: While Armature allows you to add effects in Illustrator, remember that some advanced Illustrator effects may not translate well into Unity or Unreal Engine. Stick to simple fills, strokes, and basic shapes.
Exporting Icons and Images
Game UIs often require custom icons, buttons, and other image assets. If you’re using Armature’s image library or creating your own designs, make sure to export these elements as PNG, SVG, or other game-compatible file formats. Armature’s interface allows you to generate assets that are ready for export.
2. Exporting Designs to Unity
Unity is one of the most popular game engines, and its robust UI system makes it easy to integrate Armature designs. Here’s how to export your designs from Armature and import them into Unity:
Step-by-Step Guide to Export to Unity
- Export as SVG: First, you need to export your design from Adobe Illustrator as an SVG (Scalable Vector Graphics) file. This format ensures that your design retains its resolution when scaled in Unity.
- In Illustrator, go to
File>Export>Export As…. - Select SVG as the format and make sure to check the “Use Artboards” option to export everything correctly.
- In Illustrator, go to
- Import SVG into Unity: After exporting the design as an SVG, go to your Unity project. Simply drag the SVG file into your Unity project’s “Assets” folder. Unity will automatically import the SVG, and you can start using it as a UI element.
- Convert to UI Elements: Once your SVG is in Unity, it’s time to convert it into usable UI elements. Unity supports importing SVG files as
Spriteobjects, which can be used in Unity’s UI system. If your design consists of multiple layers (like a button with separate images for normal, hover, and clicked states), you’ll need to separate those into different elements. - Adjust in Unity UI: Once imported, you can adjust the SVG components as Unity UI elements (such as
Button,Image,Text, etc.) using Unity’s UI tools. This includes adding interactivity, animations, and other effects to bring your UI to life.
Did you like our article? Read also about From Concept to Completion.
Tips for Exporting to Unity
- Test Scaling: When importing images into Unity, check for scaling issues. Ensure that elements look sharp on different screen sizes and resolutions.
- Optimize for Mobile: Unity allows you to optimize your UI for mobile screens, ensuring your designs scale properly across devices.
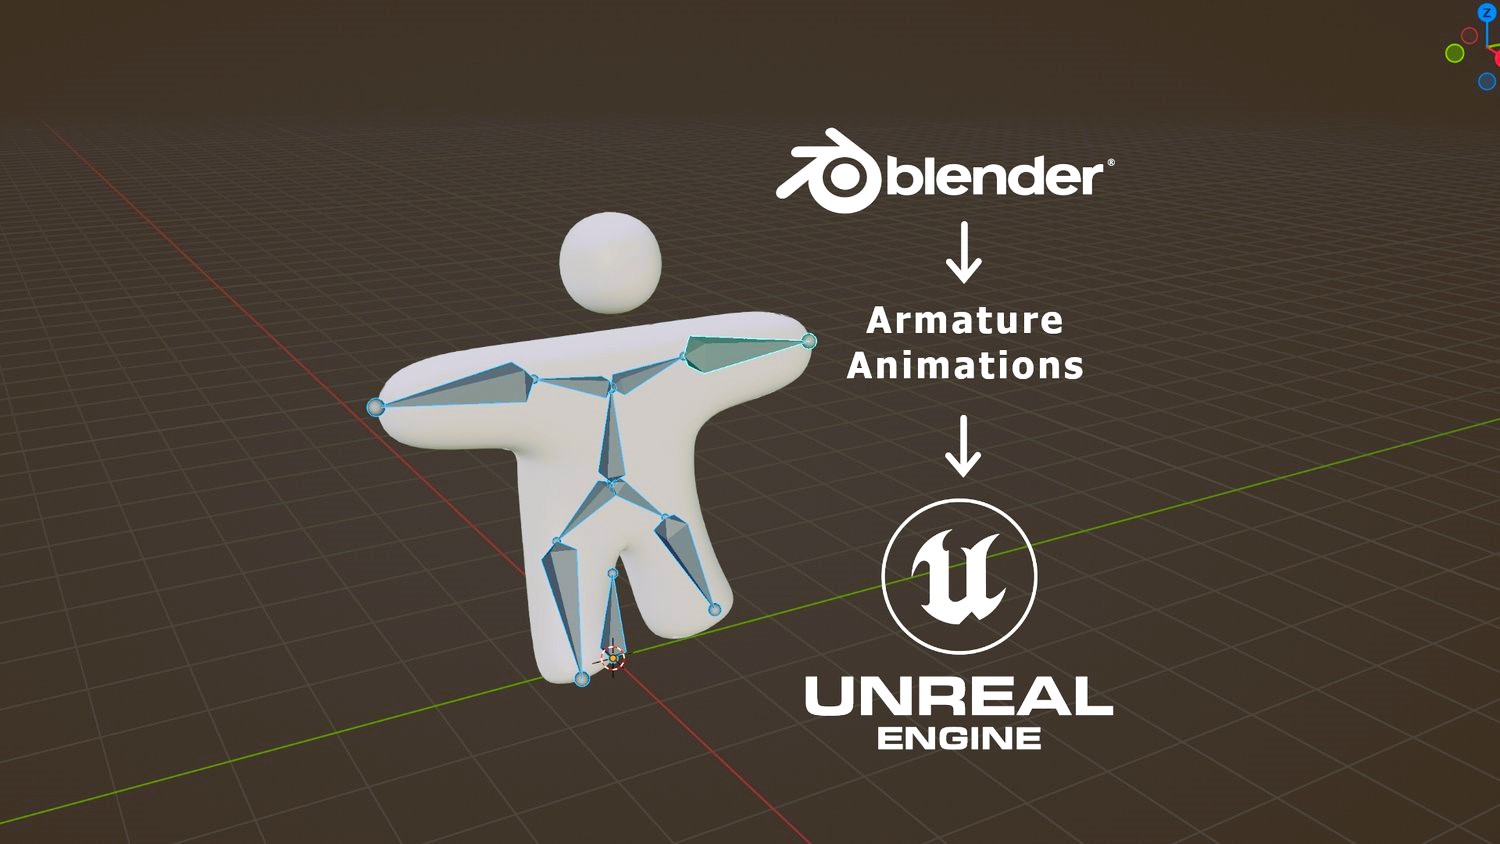
3. Exporting Designs to Unreal Engine
Unreal Engine is another powerful game engine, known for its high-quality graphics and design capabilities. Exporting your Armature designs into Unreal Engine requires a slightly different approach, but the core principles remain the same.
Step-by-Step Guide to Export to Unreal Engine
- Export as PNG or SVG: For Unreal Engine, it’s best to export your designs as PNG files for raster images or SVG for vector graphics. PNGs are ideal for high-quality icons and buttons.
- In Illustrator, go to
File>Export>Export As…. - Choose PNG or SVG format depending on your needs.
- In Illustrator, go to
- Import Assets into Unreal Engine: Open Unreal Engine and navigate to the “Content Browser”. Right-click within the browser and select “Import to /Game”. Choose the exported files (e.g., PNG or SVG), and they will be added to your project’s assets.
- Create Widgets: In Unreal Engine, UI elements are managed through
Widgets. After importing your designs, create aWidget Blueprintfor each UI component (such as buttons or menus). You can then assign the imported images and set their properties within the widget. - Adjust and Position UI Elements: Once your images are inside Unreal, use the Widget Designer to position and scale them appropriately. You can also add interactivity (like click events) and animations to enhance the user experience.
Tips for Exporting to Unreal Engine
- Use UI Scale: Unreal Engine offers tools for adjusting the UI’s scale, so you can make sure your designs fit various screen sizes.
- Optimize Assets: For better performance, ensure that images are optimized in terms of file size and resolution, especially for mobile games.
Exporting Armature designs to Unity or Unreal Engine is an essential step in turning your creative concepts into a fully functional game interface. By preparing your designs in Armature, exporting them in compatible formats like SVG or PNG, and leveraging the UI tools in Unity or Unreal Engine, you can create seamless and interactive game UIs.
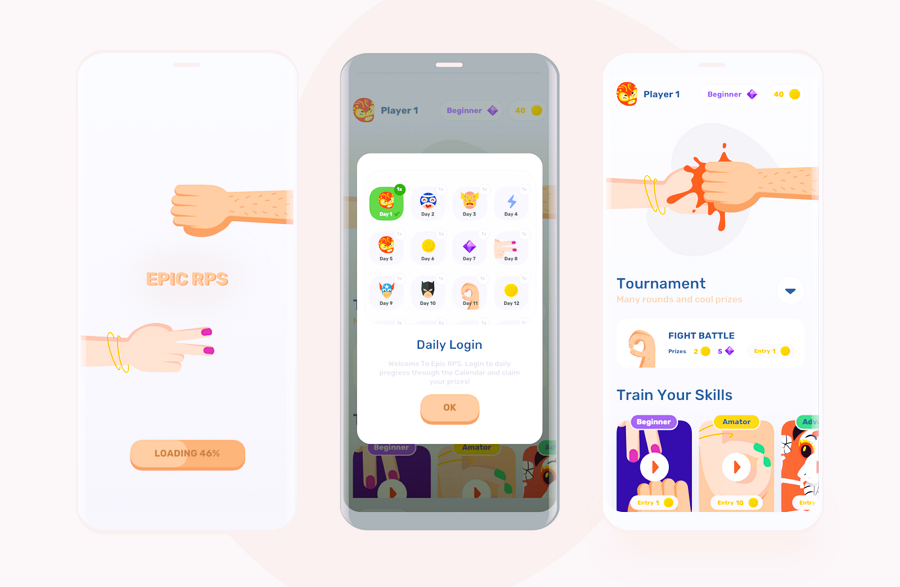
Whether you’re building an immersive fantasy RPG or a fast-paced mobile game, Armature makes it easy to integrate your UI designs directly into your game project, allowing you to focus more on gameplay and less on technical hurdles.
For more on design standards, you can visit Wikipedia’s Design Standardization page.