Designing mobile game interfaces requires a delicate balance between aesthetics, functionality, and user experience. The mobile platform’s limitations, such as screen size, touch controls, and performance constraints, can make interface design particularly challenging. Fortunately, with the Armature design tool, creating visually stunning and functional mobile game interfaces has never been easier. In this tutorial, we’ll walk you through the process of designing a mobile game interface using Armature, from concept to export.
Step 1: Install and Set Up Armature
Before you begin designing, the first step is to install Armature. Armature is an extension for Adobe Illustrator that provides a comprehensive library of pre-designed UI elements. These elements are optimized for various types of interfaces, including mobile, web, and game UIs.
To get started:
- Install Adobe Illustrator if you haven’t already.
- Download and install Armature from the official website.
- Launch Illustrator and open the Armature extension from the menu.
- The library of UI elements will be available in a separate panel. Browse through different categories like buttons, menus, form elements, tabs, and more.
Once Armature is set up, you can dive into the design process.
Step 2: Create Your Artboard for Mobile Design
When designing mobile game interfaces, it’s essential to optimize your design for mobile screen sizes. Armature allows you to create artboards of specific dimensions for different devices, ensuring your design is responsive and mobile-friendly.
- Create a new document in Adobe Illustrator.
- Set the artboard size to fit the target mobile device. Common screen sizes are:
- iPhone X: 1125 x 2436 pixels
- iPhone 12/13/14 Pro: 1170 x 2532 pixels
- Android phones: Typically between 1080 x 2340 pixels and 1440 x 3040 pixels
- Make sure to select the correct resolution (72 DPI) for mobile screens.
Now you’re ready to begin designing your mobile game interface.
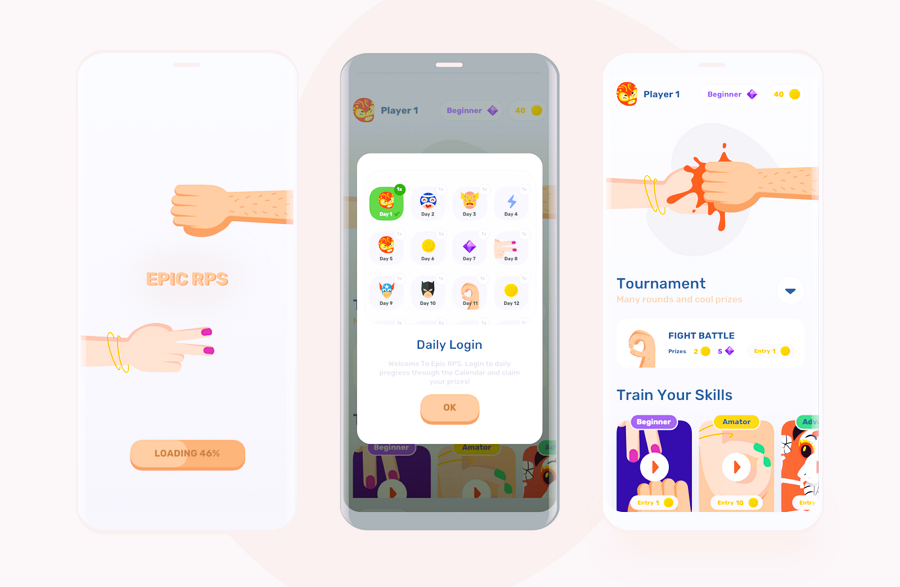
Step 3: Design the Game Menu
The game menu is one of the most critical components of any mobile game interface. It’s the first thing players see when they launch your game, and it sets the tone for their entire experience. Armature provides several pre-made menu templates that you can use to create a stunning game menu quickly.
Using Armature’s Menu Templates:
- Open the Armature Library and select the Menu category.
- Choose a menu layout that fits your game’s theme (e.g., modern, retro, minimalist).
- Drag and drop the menu items onto your artboard, adjusting the size and placement to fit your design.
Some common elements you might include in your game menu:
- Start Game Button
- Settings Button
- Sound Toggle
- Leaderboard Button
- Exit Game Button
Remember to make buttons touch-friendly—ensure they are large enough for players to tap easily.
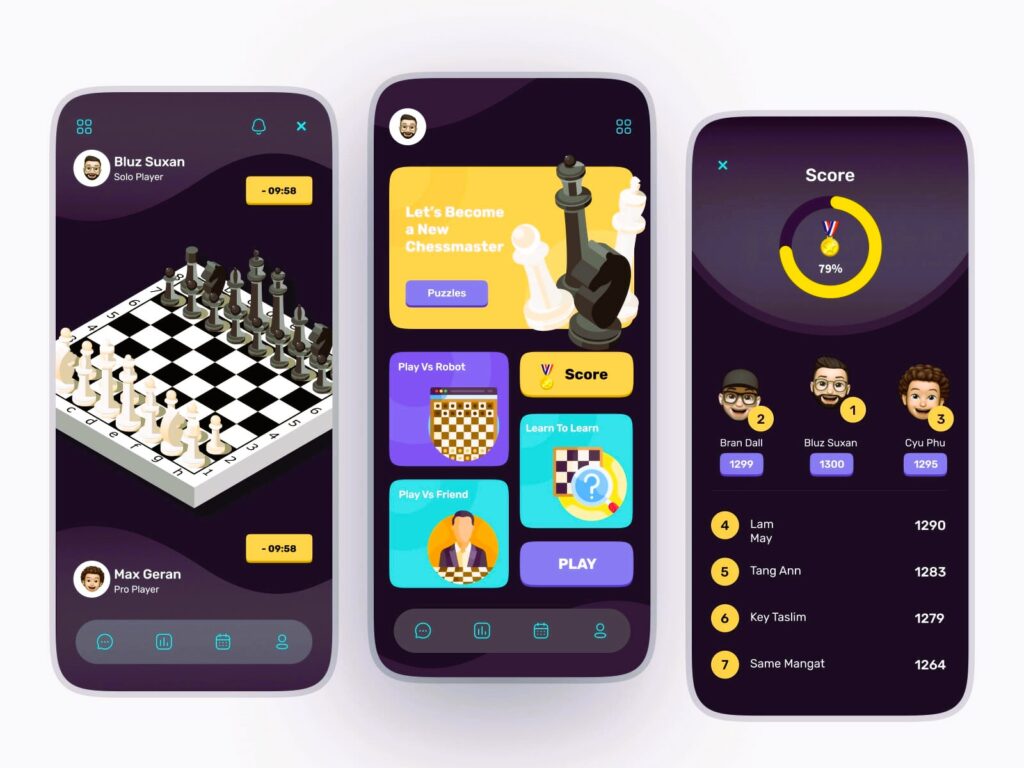
Step 4: Add Game HUD (Heads-Up Display)
The HUD is crucial in any game as it provides the player with vital information like health, score, or ammo count. With Armature, designing your game HUD is a breeze. The library contains elements such as health bars, score counters, timers, and inventory icons that can be easily customized. Did you like our article? Read also about Crafting the Perfect HUD.
Steps to Add a Health Bar:
- Open the Health Bar element from the Armature library.
- Drag it onto your artboard and place it in a location where it won’t obstruct gameplay (typically the top-left or top-right corner).
- Customize the color to match your game’s theme. Armature allows you to adjust the width, height, and corner radius of the health bar for a personalized look.
- For a dynamic feel, consider adding animations that can be imported later into your game engine.
Steps to Add a Score Counter:
- Go to the Text section of the library and drag the score counter element.
- Place it in the desired location on the HUD.
- Customize the text to read “Score” or “Coins” based on your game’s theme.
- Adjust the font style, size, and color to match your game’s design aesthetic.
Step 5: Design Game Buttons
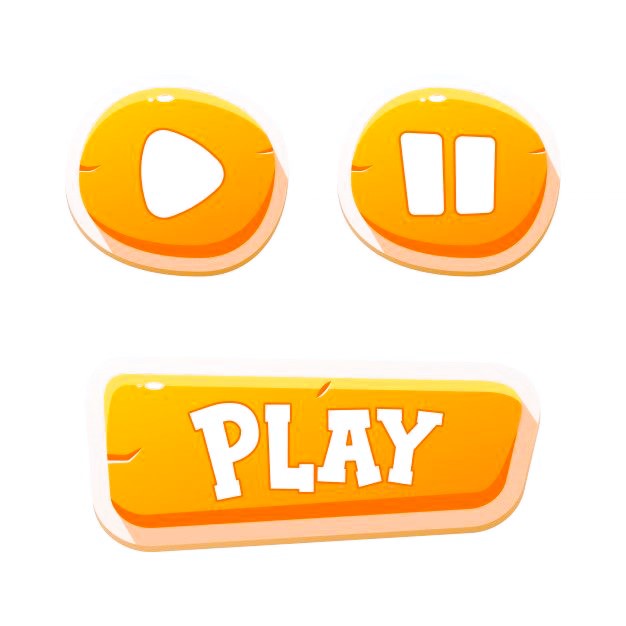
Buttons are one of the most interacted-with elements in a mobile game interface. Whether it’s for jumping, shooting, or opening an inventory, buttons need to be large enough to be pressed accurately and should stand out visually.
Armature has an extensive collection of game buttons for various actions, such as jump, shoot, pause, and inventory.
To Design a Button:
- Select a button style from the Armature library, such as a flat, raised, or glowing button.
- Drag and drop the button onto your artboard.
- Adjust the button size to ensure it’s comfortable for thumb interaction (typically, 40×40 pixels for mobile).
- Customize the button’s text and icon to match the action it represents (e.g., “Jump” or “Pause”).
- Style the button’s color, border, and shadow for a unique and engaging look.
Additional Button Design Tips:
- Use contrast to make buttons stand out against the background.
- Incorporate hover effects or press animations (to be implemented in the game engine).
- Ensure all buttons are easily tappable without overlapping or interfering with gameplay.
Step 6: Export Your Design for Development
Once your design is complete, the next step is to export it for use in your game engine (such as Unity or Unreal Engine). Armature supports easy export options, allowing you to quickly prepare your assets for development.
- Select the elements you want to export.
- Group them together for easy export.
- Save your design in the desired format, such as PNG, SVG, or AI, depending on what your game engine supports.
- If you’re working with Unity or Unreal Engine, export the assets as vector graphics or raster images to maintain quality during implementation.
Refer to the relevant documentation for your game engine to ensure you export your assets in the correct format and resolution for the best results.
Designing mobile game interfaces with Armature is a straightforward process that combines speed and creativity. By following this step-by-step tutorial, you’ve learned how to create engaging menus, HUDs, and buttons using Armature’s comprehensive library of pre-designed elements. Whether you’re building a simple mobile game or a complex game with multiple layers, Armature provides the flexibility and efficiency needed for high-quality UI design.
With Armature, you can focus on what really matters: creating an immersive and enjoyable experience for your players.