Creating a game user interface (UI) prototype is a critical step in game development, ensuring that design ideas are not only visually compelling but also functional and user-friendly. With tools like Armature, you can accelerate the process, moving seamlessly from initial concepts to a polished prototype ready for implementation.
In this article, we’ll explore how to design and build a game UI prototype using Armature, discussing best practices, features, and tips to optimize your workflow.
1. Understanding the Importance of Game UI Prototyping
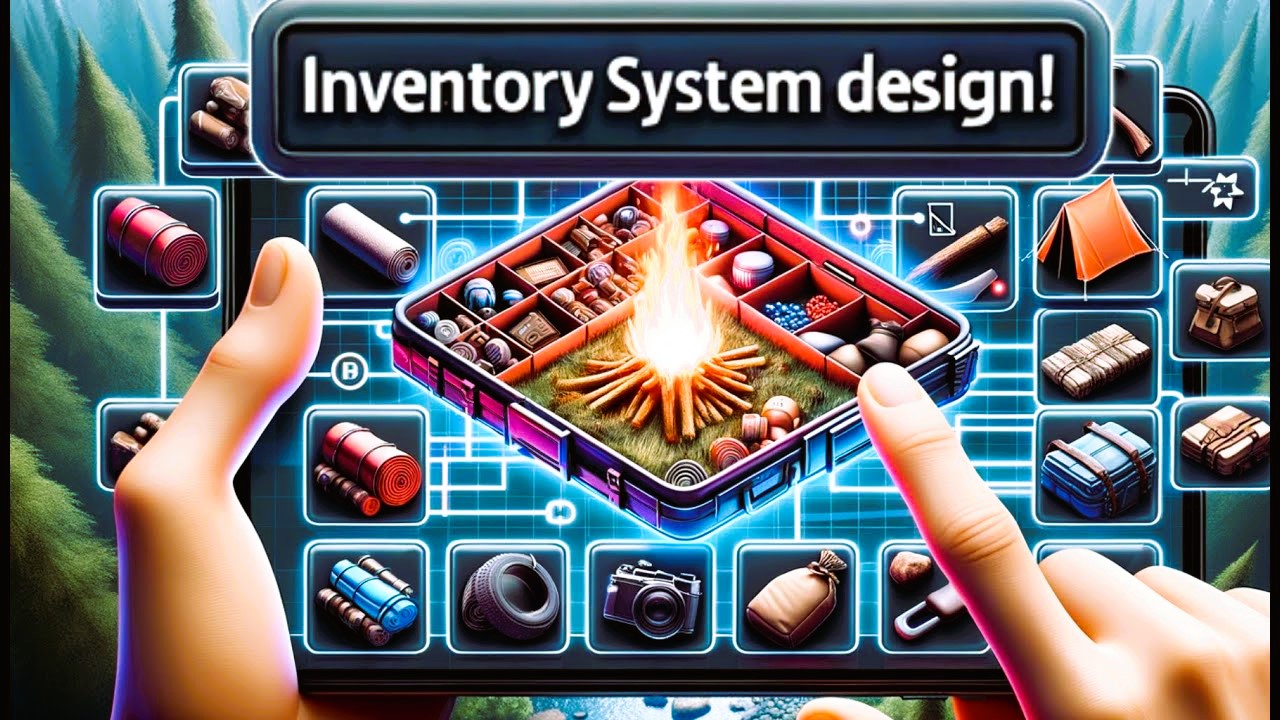
A game UI serves as the player’s primary mode of interaction with the game. Whether it’s a health bar, inventory system, or in-game menus, the UI needs to be intuitive and visually appealing. Prototyping allows you to:
- Test Usability: Check if the UI is easy to navigate and understand.
- Refine Visuals: Adjust layouts, colors, and styles before finalizing the design.
- Save Development Time: Identify and fix potential issues early, avoiding costly revisions during development.
2. Why Use Armature for Game UI Prototyping?
Armature, a wireframing extension for Adobe Illustrator, provides a library of ready-made objects and tools tailored for UI design. It’s particularly effective for game UI prototyping because:
- Speed: Quickly add elements like buttons, sliders, and progress bars from its extensive library.
- Flexibility: Easily adapt designs for various platforms, including PC, mobile, and consoles.
- Game-Specific Features: Access specialized components like health indicators, minimaps, and inventory icons.
3. Steps to Build a Game UI Prototype in Armature

Step 1: Define the Scope and Requirements
Before diving into design, outline the key features of your UI. Questions to consider:
- What elements will the UI include (e.g., score tracker, level map)?
- Which platform is the game targeting (e.g., mobile, console)?
- How will players interact with the UI (e.g., touch, mouse, controller)?
For example, a mobile game might prioritize touch-friendly buttons, while a console game requires controller navigation.
Step 2: Set Up Your Artboard
Launch Adobe Illustrator and create a new document. Use Armature’s presets to match the resolution and aspect ratio of your target platform:
- Mobile: 1080×1920 (portrait) or 1920×1080 (landscape).
- Console/PC: 1920×1080 or higher.
Ensure your artboard is properly scaled for easy export to game engines like Unity or Unreal Engine.
Step 3: Use Armature’s Library to Add UI Components
Armature provides an extensive library of ready-to-use UI elements. Drag and drop components like:
- Buttons: For in-game actions or navigation.
- Progress Bars: For health, experience, or loading screens.
- Minimaps: To guide players through levels.
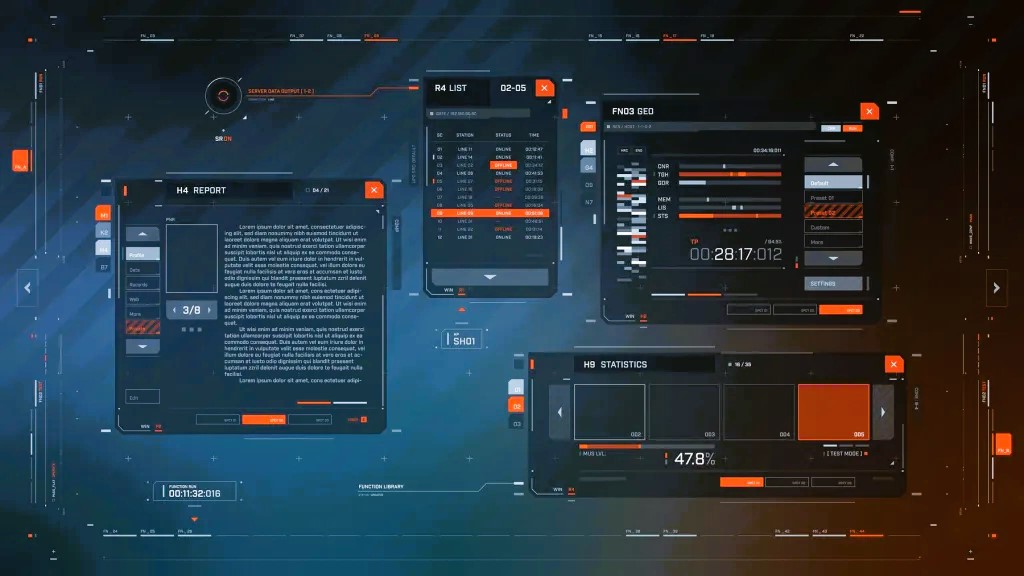
- Pop-Ups and Menus: For settings or inventory management.
Customize these elements by adjusting their colors, fonts, and sizes to match your game’s theme.
Step 4: Organize and Layer Your Design
To maintain clarity and ensure seamless export:
- Group Elements: Keep related items (e.g., a button and its text) in the same layer.
- Label Layers: Use clear names like
Health_BarorInventory_Menu. - Use Grids and Guides: Align elements consistently for a clean, professional look. Did you like our article? Read also about Responsive design for games.
Step 5: Create Interactive Mockups
While Armature focuses on design, you can simulate interactions by exporting components to prototyping tools like Adobe XD or Figma. Use these tools to:
- Add hover effects, clicks, or animations.
- Test the navigation flow between menus.
- Gather feedback from playtesters.
Step 6: Export for Game Development
Once your prototype is finalized, export the assets for integration into a game engine:
- Export individual components as PNG (raster graphics) or SVG (vector graphics) files.
- Ensure the assets are optimized for performance, particularly for mobile games.
- Import the files into Unity or Unreal Engine, assigning functionality to each UI element.
4. Tips for Effective Game UI Prototyping
1. Keep It Simple
Avoid cluttering the screen with too many elements. Prioritize functionality over decoration, especially during early prototyping stages.
2. Focus on Accessibility
Ensure that the UI is readable and usable for all players:
- Use large, clear fonts for text.
- Choose high-contrast colors for better visibility.
- Design touch-friendly elements with sufficient spacing for mobile interfaces.
3. Iterate Based on Feedback
Share your prototype with testers and gather their input. Address any issues or pain points they encounter, refining the design to improve usability.
Building a game UI prototype in Armature is a straightforward yet powerful process that bridges the gap between design and implementation. By leveraging Armature’s features, you can create visually appealing, functional prototypes that align with your game’s vision and platform requirements.
From organizing layers to exporting assets, each step is designed to streamline your workflow and save development time. Whether you’re designing for mobile, PC, or consoles, Armature empowers you to create prototypes that elevate the gaming experience.
For additional resources on game UI design, check out Fandom’s Game Development Wiki.