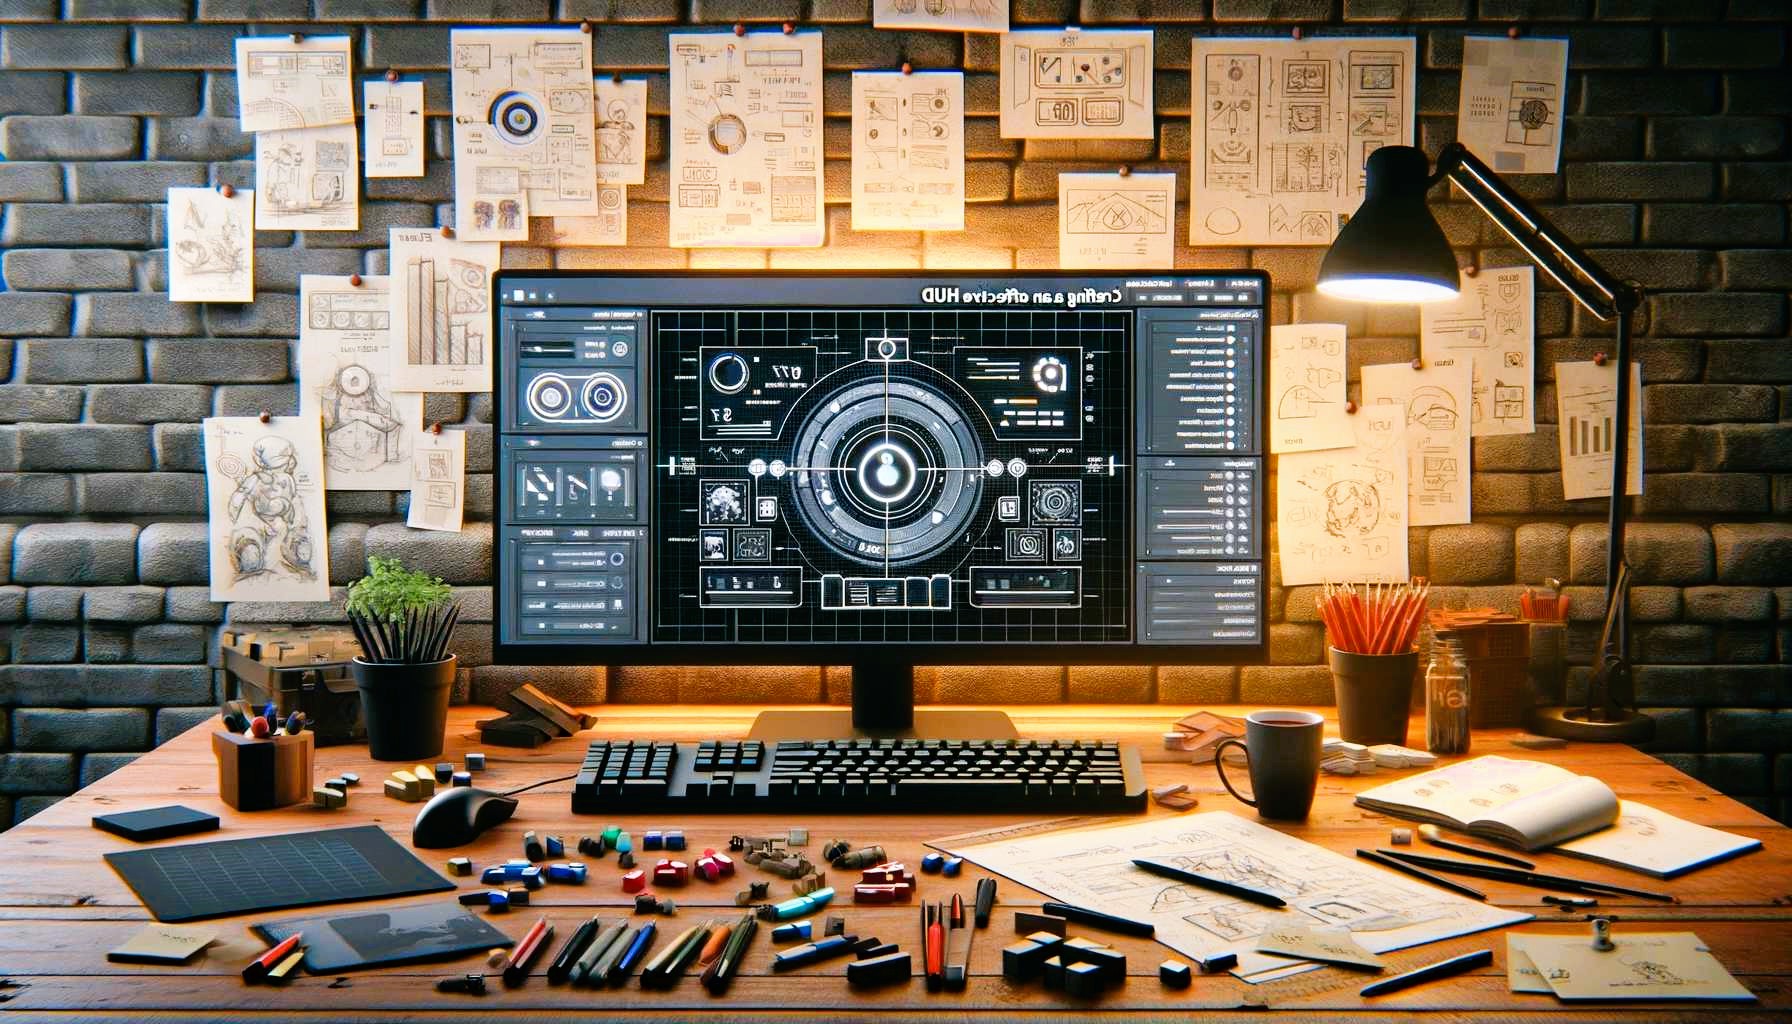
The Heads-Up Display (HUD) is an integral part of any video game interface, providing essential information to the player without interrupting their immersive experience. It offers a real-time overview of critical data, such as health, score, inventory, or time, all of which are essential to gameplay. Crafting the perfect HUD is crucial for game developers who want to enhance user experience and gameplay functionality. In this article, we’ll explore how to design the perfect in-game HUD using Armature, a powerful wireframing tool designed for game interface development.
What is a HUD and Why is it Important?
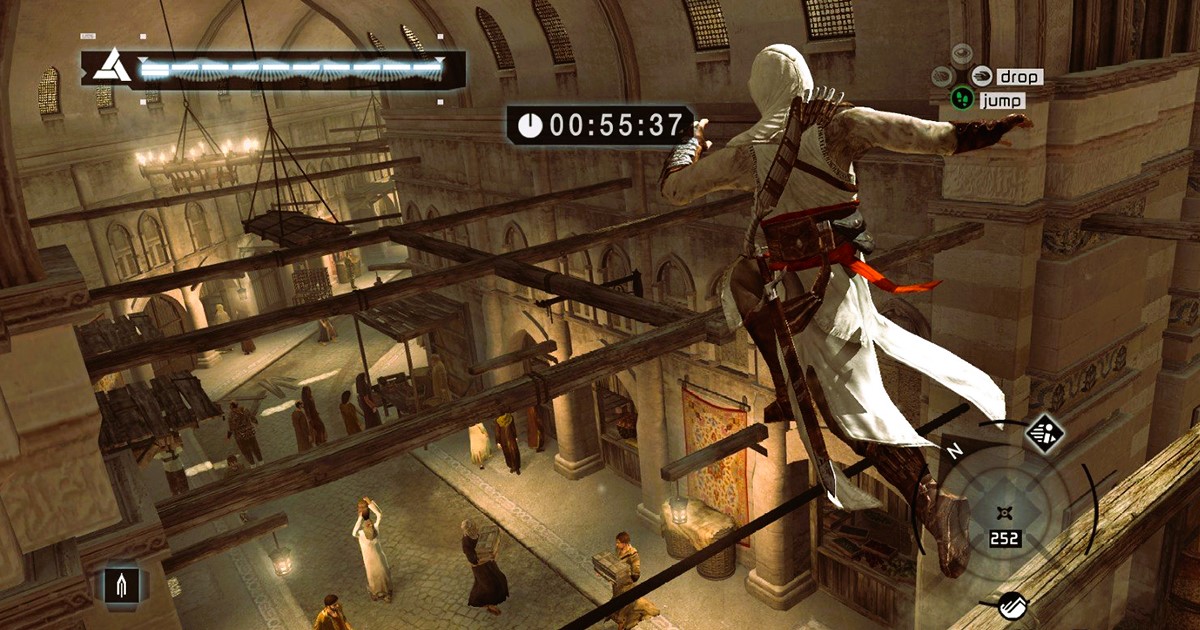
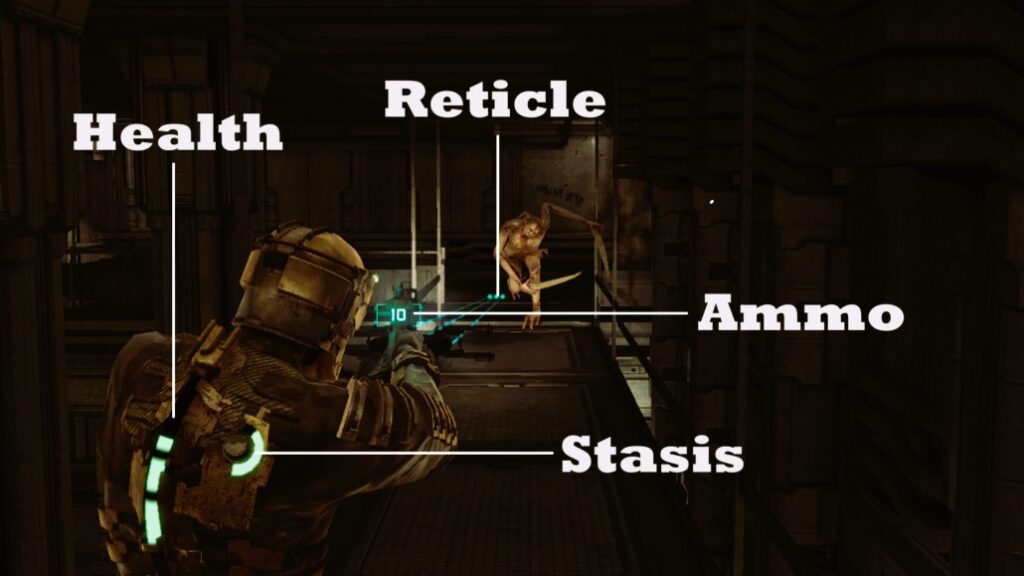
A HUD (Heads-Up Display) is a visual overlay that presents real-time information on the screen during gameplay. Unlike traditional menus that take players out of the action, a HUD remains visible at all times, providing dynamic updates to gameplay data, such as:
- Health Bar: Shows the player’s remaining health or damage status.
- Score: Displays the player’s current score or achievements.
- Ammo or Resources: Indicates the amount of ammunition or in-game resources available.
- Timer: Tracks time-based events or countdowns.
- Mini-Map: Provides a small, contextual map of the game environment.
The design and placement of these elements must not obstruct the game’s action, and they should be easy to read and interact with. Achieving a balance between aesthetics and functionality is key to crafting an effective HUD.
Step 1: Understand the Basics of HUD Design
Before diving into Armature and designing the HUD, it’s important to understand a few basic principles of HUD design:
- Prioritize Information: The most crucial information, such as health and ammo, should be prominently displayed.
- Maintain Clarity: Text and icons must be legible even during fast-paced gameplay.
- Minimalism: Avoid clutter. Too many elements on screen can overwhelm the player and distract them from the game.
- Consistency: Use consistent color schemes and design styles across your HUD to keep the interface intuitive and unified.
- Dynamic Adjustments: Elements like health bars and timers should be responsive to in-game changes in real-time.
With these principles in mind, let’s move on to designing your HUD using Armature.
Step 2: Setting Up Armature for HUD Design
Armature is a versatile tool that simplifies the process of creating HUDs for mobile and desktop games. As an Adobe Illustrator extension, it integrates seamlessly with the design environment, providing access to a wide range of UI elements optimized for game interfaces. Here’s how to set up Armature for HUD design:
- Install Armature: Download and install the Armature extension for Adobe Illustrator.
- Launch Illustrator and open the Armature panel to access its library of pre-designed elements.
- Choose an appropriate artboard size for your HUD. For mobile games, common resolutions include:
- iPhone X: 1125 x 2436 pixels
- Android phones: 1080 x 2340 pixels
- Desktop games: Customize your artboard to fit the target screen resolution.
Once set up, you can begin placing your HUD elements.
Step 3: Designing the Core HUD Elements
The core elements of your HUD include health bars, score counters, ammo counts, and timers. Let’s explore how to design these elements using Armature. Development of game user interface for virtual and augmented reality, more details here.
Health Bar
The health bar is one of the most essential HUD components, as it visually communicates the player’s survival status. A well-designed health bar should be easy to read and update dynamically during gameplay.
- Select the Health Bar Element: Armature offers several styles of health bars, including linear, circular, and dashed designs.
- Place the Health Bar: Position it in the top-left or top-right corner of the screen to avoid obstructing gameplay. Make sure it’s large enough to be clearly visible but not too large as to overwhelm the screen.
- Customization: Customize the color of the health bar to fit the game’s aesthetic. For example, use green for healthy status, yellow for moderate damage, and red for low health.
- Dynamic Adjustments: Ensure the health bar can update in real-time based on the player’s status. This can be done later in your game engine (like Unity or Unreal Engine).
Score Counter
The score counter is another key HUD element. It tracks the player’s progress and rewards throughout the game. Armature provides customizable score counters that are easy to implement.
- Select the Score Counter Element: Armature’s library has different types of counters, including text-based and icon-based counters.
- Positioning: Typically, score counters are placed at the top-center or top-right of the screen.
- Customization: Customize the font style and color to match your game’s theme. You can also add animations (like a flashing effect) to draw attention when a milestone is reached.
Ammo/Resource Counter
For shooters or resource-based games, an ammo or resource counter is vital. This counter informs the player about how much ammunition or in-game resource they have left.
- Choose an Ammo/Resource Counter: Armature offers several designs, such as numeric counters or icon-based counters (e.g., bullets or energy bars).
- Positioning: Place the ammo/resource counter near the health bar or at a bottom corner to ensure it is visible but not intrusive.
- Customization: Choose icons or text styles that complement your game’s visual identity.
Timer
For time-based games, a timer is essential for tracking countdowns or time limits. You can design a timer that counts down to a goal or keeps track of elapsed time during gameplay.
- Select a Timer Element: Choose from a range of countdown timers or stopwatch-style designs.
- Positioning: Timers are usually placed in the upper-center or top-right section of the screen.
- Customization: Adjust the font, color, and size to match the aesthetic of your game.
Step 4: Add Additional HUD Elements
While health, score, ammo, and timer are core HUD elements, there are additional elements you may want to incorporate into your design, depending on your game’s needs:
- Mini-Map: Provides a small map of the game world or environment.
- Quest/Objective Tracker: Displays ongoing quests or objectives for the player.
- Energy/Power-up Bars: Tracks the player’s special abilities or power-ups.
- Inventory Icons: Shows the items the player currently holds.
Armature allows you to add these additional elements quickly by dragging and dropping them from the library.
Step 5: Exporting Your HUD Design
Once your HUD is complete, the next step is to export your design so that it can be implemented into the game. Armature allows for easy export into various formats compatible with game engines.
- Select the Elements: Choose all the HUD elements you want to export.
- Group Your Elements: Group elements together to keep your design organized.
- Export Formats: Export your design as SVG or PNG files, which are easily imported into most game engines like Unity or Unreal Engine.
- Adjust for Screen Resolution: Make sure your HUD design is optimized for the screen resolutions you are targeting.
After exporting, the HUD elements are ready for integration into your game.
Designing the perfect HUD requires a combination of creativity, functionality, and technical skill. With Armature, you can easily create a well-organized, visually engaging HUD that provides essential gameplay information without distracting from the action. By following the steps outlined in this guide, you can craft a user-friendly and intuitive HUD that enhances the player’s experience and supports your game’s mechanics.
For more information on HUD design standards and best practices, visit Wikipedia’s page on Heads-Up Displays.