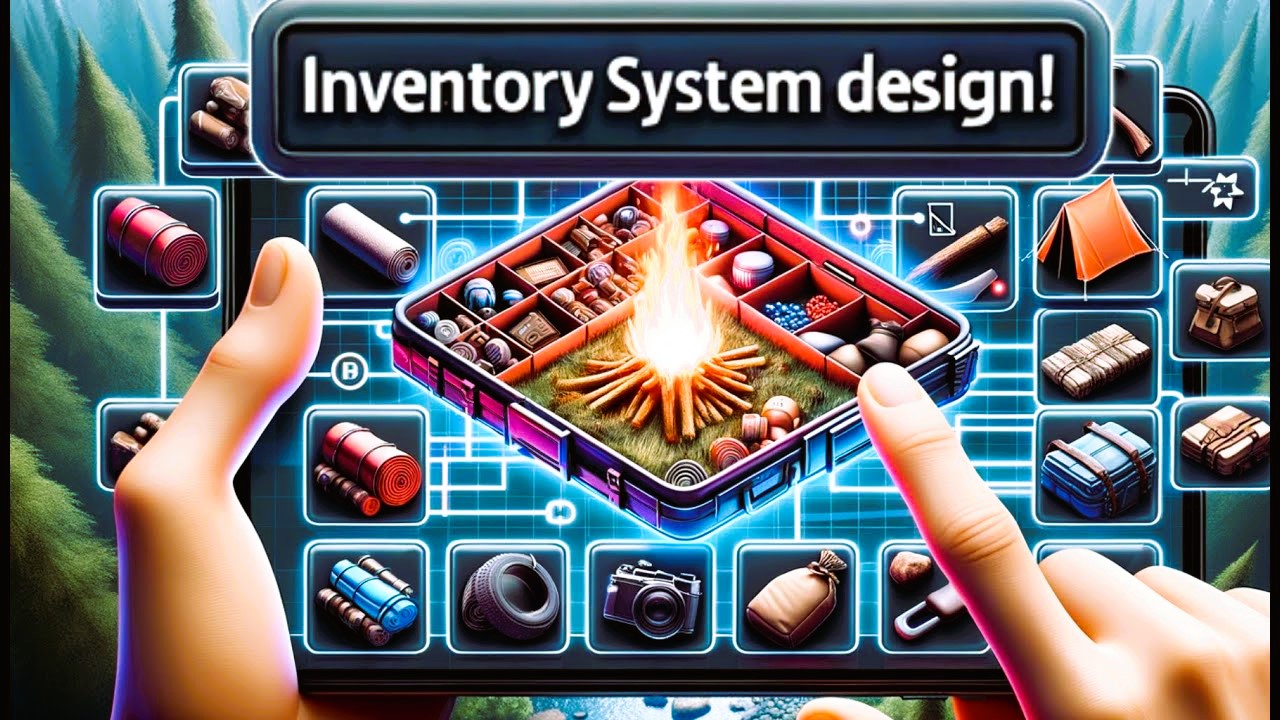
A robust and intuitive inventory system is a cornerstone of many modern games. Whether you’re crafting a complex RPG, a survival game, or an action-packed shooter, an efficient and visually appealing inventory system is essential for engaging players and enhancing gameplay. In this guide, we’ll explore how you can build a custom game inventory system with Armature, a tool designed to streamline UI design, allowing you to create custom inventory interfaces quickly and effectively.
What is an Inventory System?
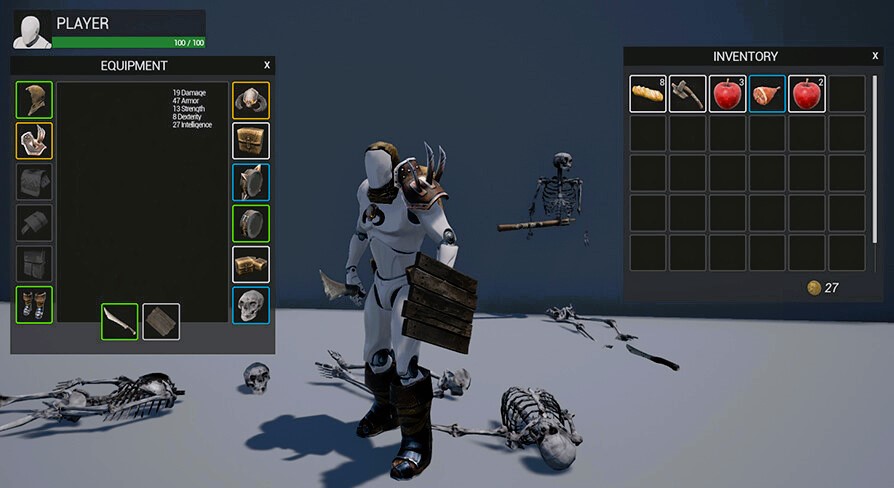
In gaming, an inventory system is a method of managing a player’s collection of items, such as weapons, armor, and consumables. It allows players to access, organize, and use items during gameplay. An inventory system typically includes features like item sorting, tooltips, drag-and-drop functionality, and item descriptions. When done right, an inventory system enhances the player’s interaction with the game world, making it immersive and rewarding.
Key Components of an Inventory System
An effective inventory system includes several components that are crucial to creating a smooth and engaging user experience. Let’s take a look at these core elements:
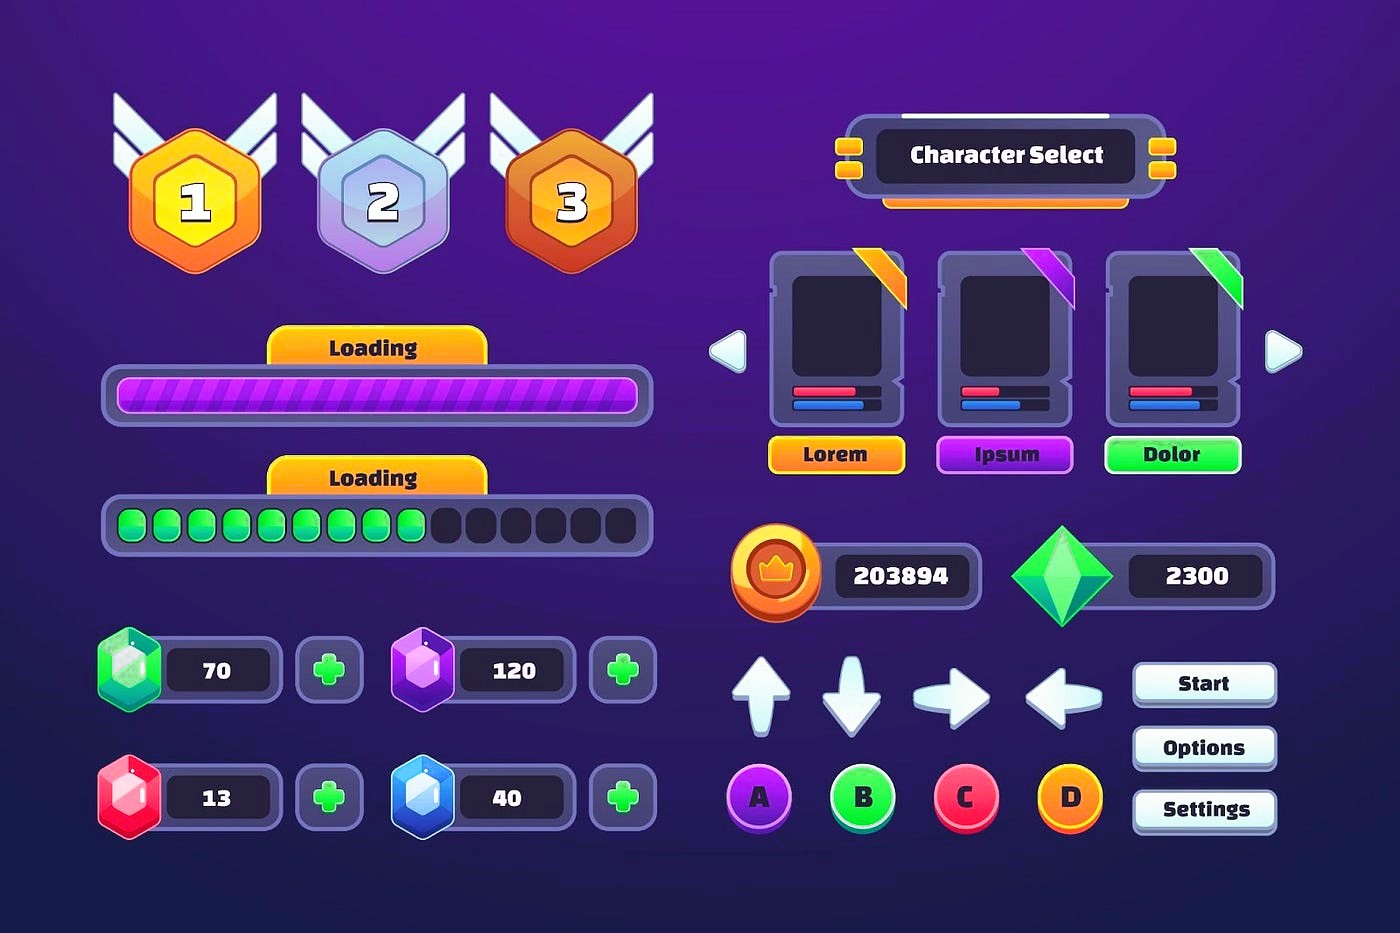
- Item Slots: The individual spaces where items are stored. These should be easily accessible and well-organized.
- Item Icons: Visual representations of each item that give players a quick overview of their collection.
- Item Details: Information about the item, such as its name, description, stats, or any unique abilities.
- Categories: Sorting items by type (e.g., weapons, potions, armor) helps players navigate their inventory more efficiently.
- Drag-and-Drop Mechanism: Allows players to move items between slots or equip/unequip items with ease.
- Quantity Display: Shows how many of a particular item the player has in their inventory.
Why Use Armature to Build Your Inventory System?
Building a custom inventory system requires both design and functionality, and Armature excels in helping developers with both. Armature offers a range of pre-made UI elements that can be customized to fit your game’s theme, and it is especially useful for rapidly prototyping and designing cross-platform interfaces.
Key Features of Armature for Inventory System Design:
- Drag-and-Drop Support: Create intuitive drag-and-drop systems for item organization.
- Customizable Inventory Slots: Design inventory slots that are unique to your game’s aesthetic, whether it’s a futuristic sci-fi game or a medieval fantasy world.
- Pre-made UI Components: Take advantage of Armature’s library of buttons, item icons, and containers, making it easy to build out your system.
- Cross-Platform Design: With Armature, you can design inventory systems that are compatible across multiple platforms, from mobile to desktop to VR/AR.
- Responsive Layouts: Armature ensures that your inventory system will scale correctly on different screen sizes, making it ideal for both mobile and desktop games. Why Armature is the perfect tool for indie game developers, the answer is in this article.
Now, let’s break down the process of building a custom inventory system using Armature.
Step 1: Plan Your Inventory Layout
Before diving into the design process, it’s important to plan your inventory layout. Consider the following questions:
- How many items will players be able to store? Define how large the inventory will be and whether it will have pagination (e.g., multiple pages for different types of items) or infinite scrolling.
- Will there be categories or tabs? Sorting items into categories like “Weapons,” “Armor,” “Consumables,” or “Miscellaneous” helps players quickly find what they need.
- What kind of item interactions are required? For example, will players be able to equip items directly from the inventory? Will there be a quick-use option for consumables?
Once you have a rough idea of your layout, you can begin designing with Armature.
Step 2: Create the Inventory Grid
Armature offers several pre-made UI components that you can use to build your inventory grid. Start by creating a container for your inventory that holds the item slots. Each slot should be a small, clickable element that represents an individual inventory space.
Best Practices for Grid Design:
- Organize Slots: Use a grid layout to align your slots neatly. You can also create a collapsible or expandable system if you want to save screen space for smaller devices.
- Consistent Slot Size: Ensure that each slot is the same size for a consistent and polished look.
- Drag-and-Drop Support: Use Armature’s drag-and-drop functionality to allow players to move items between slots easily.
Step 3: Add Item Icons and Descriptions
Each inventory slot will hold an item, and you’ll need to add visuals for each item. Armature provides you with a wide range of icon styles, so you can choose one that matches your game’s visual style. These icons will represent items in the inventory and allow the player to quickly identify what they have.
Additionally, you’ll want to display item details when a player hovers over or clicks on an item. These details can include:
- Item Name
- Description
- Stats or Abilities
- Quantity (if applicable)
How to Display Item Details:
- Tooltips: Armature supports tooltips, which can display item descriptions when the player hovers over an item.
- Pop-up Windows: For more detailed information, you can design a pop-up window that shows detailed stats or lore about the item.
Step 4: Implement Sorting and Categories
If your game has a large number of items, you’ll need to implement a system for sorting and categorizing them. Armature’s layout tools allow you to create tabs or dropdown menus for organizing inventory into different sections.
For example:
- Weapons: Show weapons in their own tab or section of the inventory.
- Consumables: Group all potions, food, and other consumable items together.
- Armor: Place armor and accessories in another section.
How to Sort Items:
- Use dropdown menus or tabs to allow players to quickly switch between different categories.
- Create a search bar so players can find specific items by name.
- Implement filtering options (e.g., sort by item type, rarity, or level) for more advanced inventories.
Step 5: Add Functionality for Using, Equipping, and Dropping Items
Once the visual layout is in place, it’s time to implement the functionality. Here are some common features you may want to include:
- Equip/Unequip Items: Allow players to equip or unequip weapons, armor, and other items directly from the inventory.
- Use Items: Enable players to use consumable items such as potions or healing kits with one click.
- Drop Items: If your game allows it, provide a way for players to drop or discard items they no longer need.
Armature’s interactive components can be linked with these features, ensuring that when a player clicks on an item, it triggers the appropriate action in the game.
Refining your system based on user feedback is key to creating an inventory system that players enjoy interacting with.
Creating a custom game inventory system may seem like a daunting task, but with Armature, it becomes a manageable and efficient process. By using Armature’s pre-made UI elements and design tools, you can quickly build an inventory system that fits the unique needs of your game. Whether you’re designing for mobile, desktop, or VR, Armature helps streamline the process, allowing you to focus on creating the best player experience possible.
For more on user interface design standards, check out Wikipedia’s page on User Interface Design.